


Create a new file (File>New) having 800×700 px and 72 dpi. Apply now the Paint Bucket Tool (G) to fill the background with color #131313

Using the Ellipse Tool (U), try to represent an element reserved for the site’s header to be that would have the white color.

The layer’s parameters:
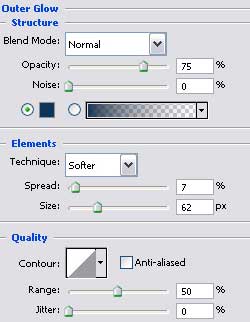
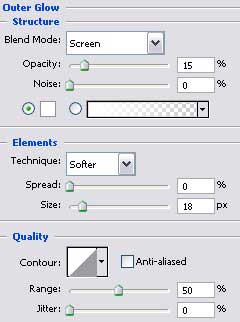
Blending Options>Outer Glow

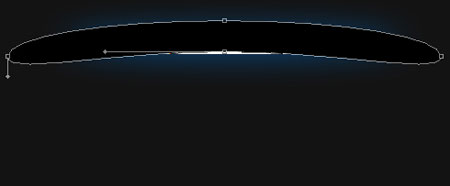
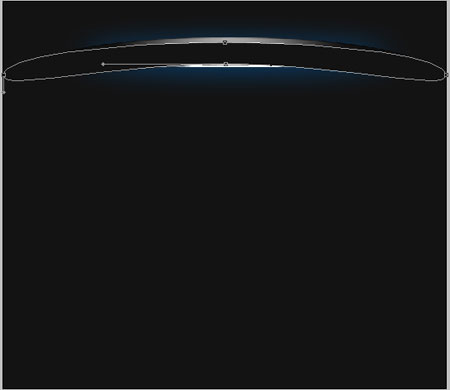
Applying the previous instrument, try to make the next layer belonging to the site’s header, which corrections can be made with Convert Point Tool.
The layer’s parameters:
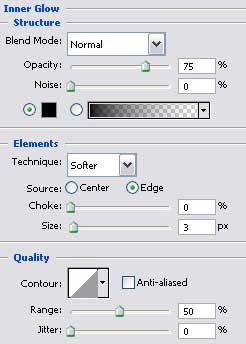
Blending Options>Inner Glow
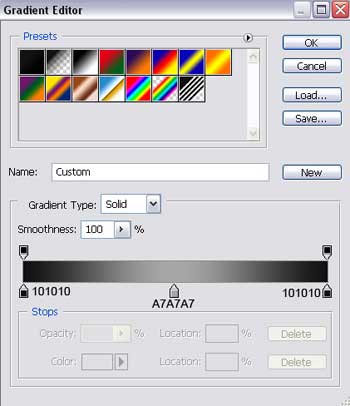
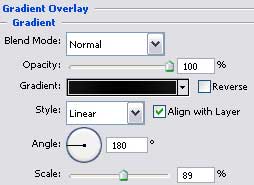
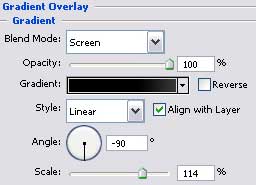
Blending Options>Gradient Overlay

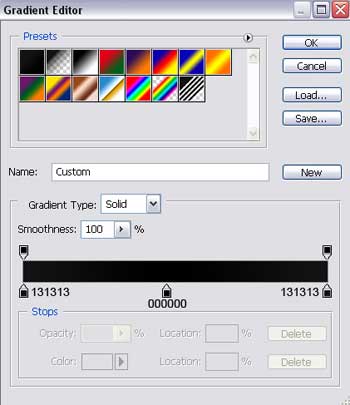
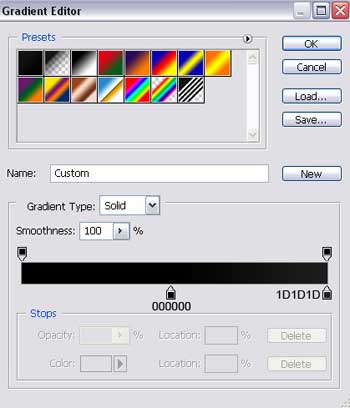
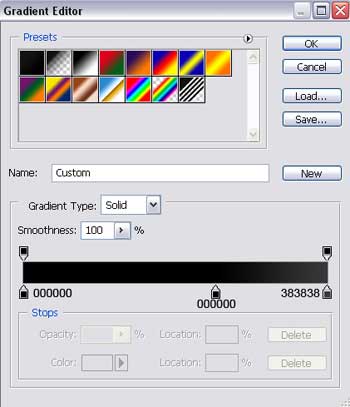
Gradients parameters:

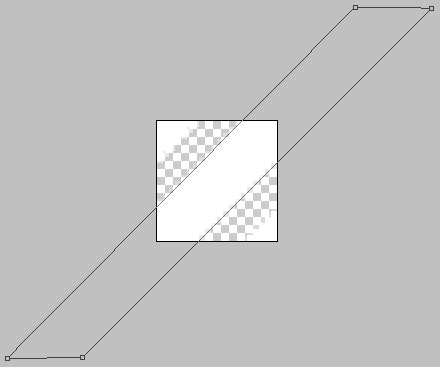
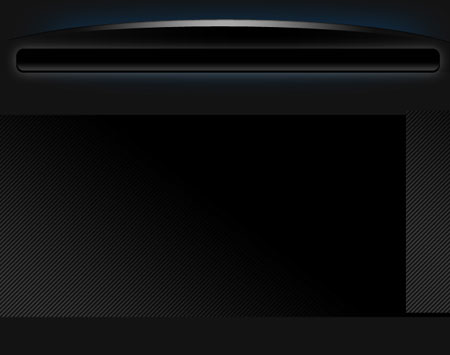
Make a copy of the new made layer and select the Free Transform option to narrow a little the copy and stretch it out a little the way it is shown below (change the layer’s parameters).
The layer’s parameters:
Blending Options>Gradient Overlay
Gradient’s parameters:

Create a new layer having 20×20 px and 72 dpi and then apply the Rectangle Tool (U) about three times and turn over the copy with Free Transform option to create a kind of pattern of white color.
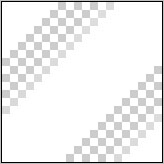
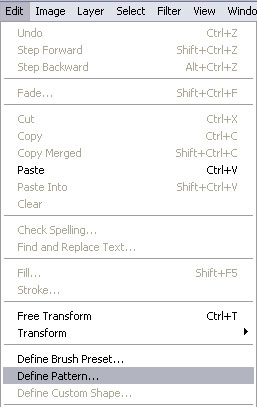
Save the Pattern!
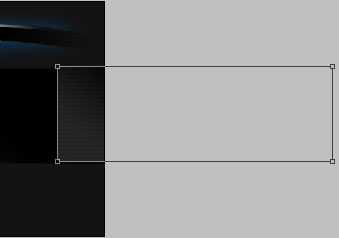
Create a new layer and use on it the Rectangle Tool (U) to represent a wide stripe looking like a part of the site’s background.
The layer’s parameters:
Blending Options>Gradient Overlay
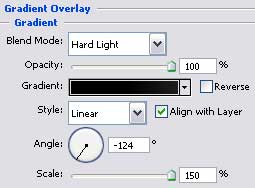
Gradient’s parameters:
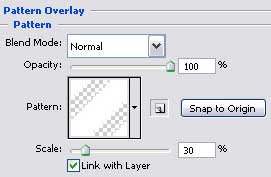
Blending Options>Pattern Overlay

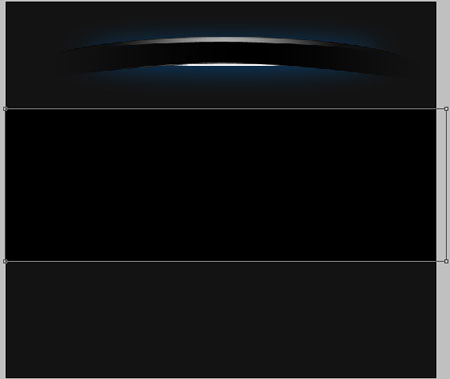
Make a copy of the recently created layer and select again the Free Transform option to move the copy to the right side and lift it up a little the way it is demonstrated on the picture.

Using the Rounded Rectangle Tool (U), represent the lowest layer reserved for the buttons’ panel on the site’s header’s menu, colored in #010101

The layer’s parameters:
Blending Options>Outer Glow

Make a copy of the new made layer and select the Free Transform option to make it smaller a little and apply for this copy different parameters:

The layer’s parameters:
Blending Options>Gradient Overlay
Gradient’s parameters:
Using the Ellipse Tool (U), try to draw a flare on the right side of the buttons’ panel situated on the site’s header.

The layer’s parameters:
Fill 0% on the layers.
Blending Options>Gradient Overlay

Gradient’s parameters:


Press the Alt button and make a mouse’s click between the flare’s layer and the buttons’ panel for the flare to be applied in the limits of the buttons’ panel.


Make a copy of the new made layer and move the copy with Free Transform option on the left side of the buttons’ menu.

Select now the Rectangle Tool (U) to paint the lowest part of the site’s background in here shown color – #1A1A1A

The layer’s parameters:
Blending Options>Outer Glow

Blending Options>Bevel and Emboss


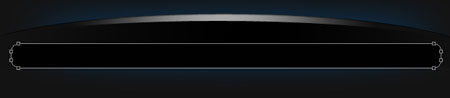
Choose the Rounded Rectangle Tool (U) to represent the lowest layer reserved for the site’s sections.


The layer’s parameters:
Blending Options>Drop Shadow

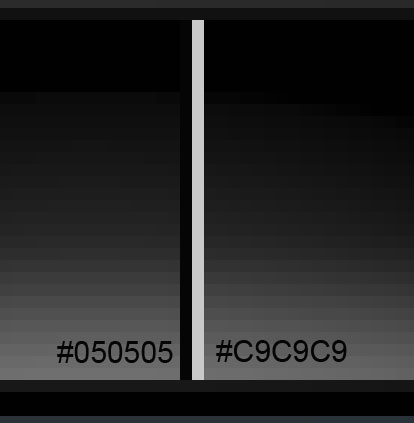
Blending Options>Gradient Overlay

Gradient’s parameters:

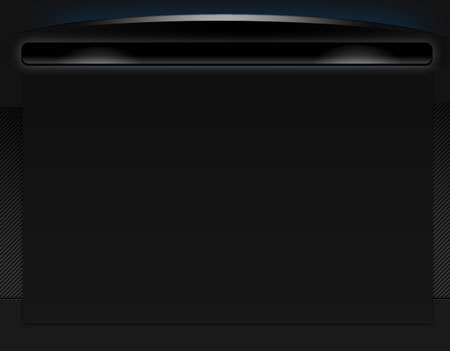
Make a copy of the last made layer and apply again the Free Transform option to make the copy smaller the way it is demonstrated below and change the copy’s parameters too.

The layer’s parameters:
Fill 0% on the layers.
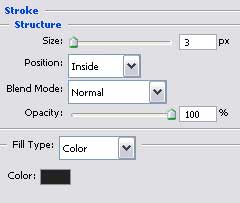
Blending Options>Stroke

Next we have to select two instruments and represent one more element belonging to the site’s header. Use firstly the Rectangle Tool (U) to create the primary layer and then click on the Alt button, selecting simultaneously the Ellipse Tool (U) for two times to cut out the unnecessary elements.


The layer’s parameters:
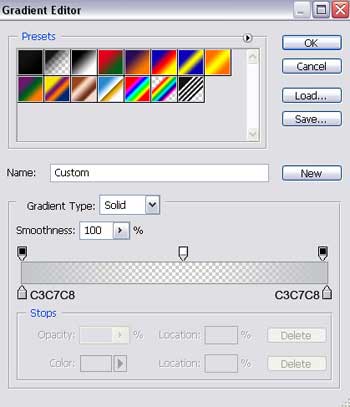
Blending Options>Gradient Overlay

Gradient’s parameters:


We have to represent now another element belonging to the site’s header that must be placed upper than the previously made one. The operation in case needs the same Rectangle Tool (U).


The layer’s parameters:
Blending Options>Gradient Overlay

Gradient’s parameters:


Professional Modern Web Layout
May 10th, 2007 by ART-D Posted in Adobe Photoshop, Web Layout

Choose the Pencil Tool (B) to draw a double vertical line on the buttons’ panel, upper than the left flare.
The layer’s parameters:
Blending mode-Soft Light

Make a copy of the new made layer and select the Free Transform option to place the flare upper than the flare situated on the right side.

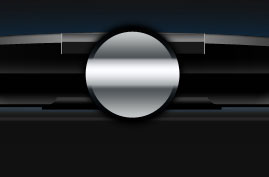
Using the Ellipse Tool (U), draw now the primary layer, reserved for the site’s logotype.

The layer’s parameters:
Blending Options>Outer Glow

Blending Options>Gradient Overlay

Gradient’s parameters:


Using the previous instrument, represent the next layer reserved for the logotype.

The layer’s parameters:
Fill 0% on the layers.
Blending Options>Gradient Overlay

Gradient’s parameters:
Selecting the Ellipse Tool (U), try to make one more layer reserved for the site’s logotype, colored in #0A0F12.

The layer’s parameters:
Blending Options>Stroke


Select the last applied instrument to draw now a flare on the logotype’s made element.

The layer’s parameters:
Fill 0% on the layers.
Blending Options>Gradient Overlay

Gradient’s parameters:


Press the Alt button and make a mouse’s click between the layers for the flare to be applied in the limits of the primary layer.


Select the Ellipse Tool (U) to draw the next logotype’s layer.

The layer’s parameters:
Fill 0% on the layers.
Blending Options>Outer Glow

Blending Options>Inner Glow

Blending Options>Stroke


Next step includes creating a special section situated on the left side of the panel on the site’s sections. We’ll select the Rectangle Tool (U) for this operation.

The layer’s parameters:
Fill 0% on the layers.
Blending Options>Gradient Overlay

Gradient’s parameters:


Make a copy of the new made layer and select the Free Transform option to turn over the copy and place it the way it is shown next picture.

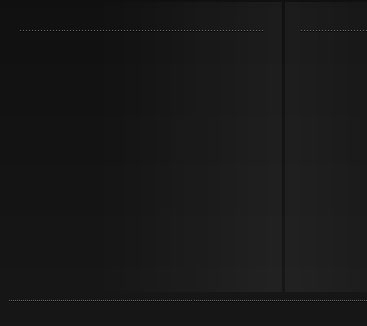
Using three lines made of small points, try to mark the sections’ panel, keeping the demands from the tables below.

(the lowest line)

(the top lines, on the left and right sides).
The layer’s parameters are the same for the lines situated on the top and on the bottom
Blending Options>Drop Shadow


Introduce after that the titles for the buttons situated on the site’s menu.


Write also the title of the site’s logotype, keeping the demands from the next presented table.


The layer’s parameters:
Blending Options>Gradient Overlay

Gradient’s parameters:


Entitle the site’s sections, applying the demands from the next tables:

(about me)

(portfolio)

Insert the text in the section entitled “about me”, taking care of the demands from the next tables:

(the orange text)

(the rest of the text)

Insert the screenshots of our projects in the next section “portfolio”
The layer’s parameters are the same for all six screenshots.
Blending Options>Stroke


The last stage includes adding the site’s copyright:


Finished!
View full size here.


